Plugin Settings
🔧 Settings Overview
Configure how your Product Video Bot behaves using the settings panel. Each section is organized into collapsible boxes for ease of use.
🛠️ Accessing the Settings
To access the plugin settings:
- Log into your WordPress Admin Dashboard.
- Navigate to Menu → Video Bot.
- You'll be taken to a settings page with multiple configuration boxes to control video generation behavior and AI integration.
⚙️ Browser-Based Video Generation
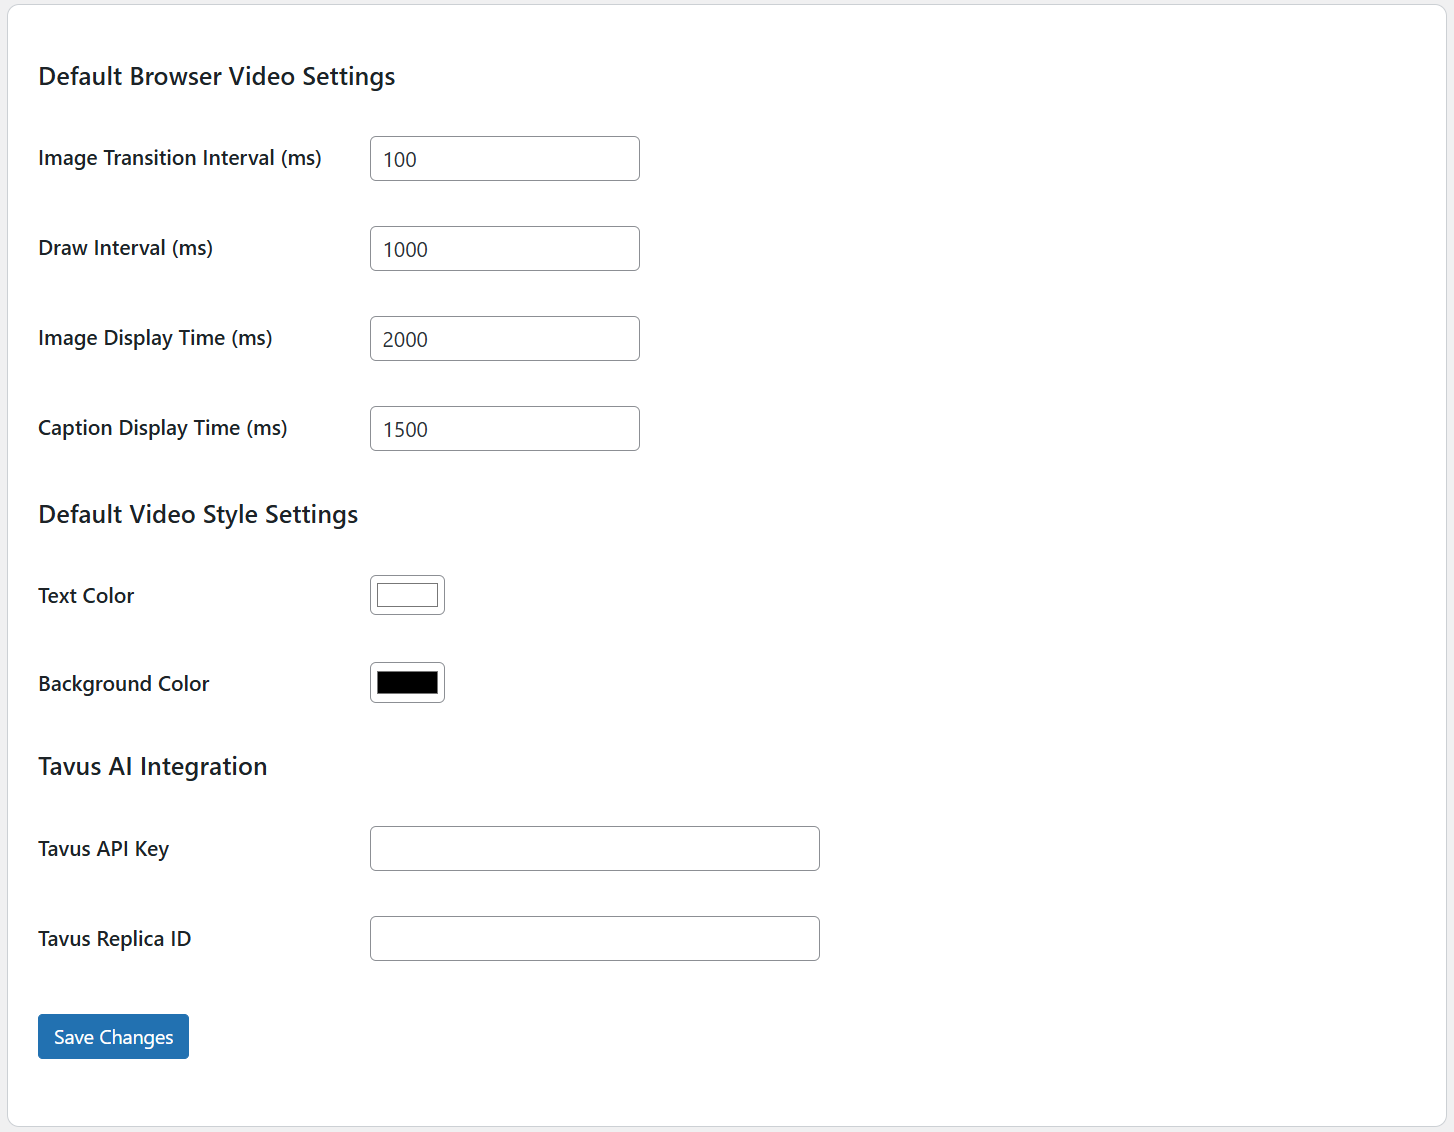
1. ✅ Default Settings
You can define default settings for browser-based video generation. These can be overridden on individual product pages if needed.
Video Timing Settings:
- Image Transition Interval:
100 ms - Draw Interval:
1000 ms - Image Display Time:
2000 ms - Caption Display Time:
1500 ms
Default Style Settings:
- Text Color
- Background Color
2. 🧾 Tavus AI Integration
Integrate Tavus to generate personalized AI videos automatically.
- Tavus API Key
- Tavus Replica ID
3. 🔤 How to Get Tavus AI Credentials
To use Tavus integration, you'll need a developer account. Follow these steps:
- Sign up at Tavus.io.
- Navigate to your account’s API section.
- Copy your API Key and Replica ID, then paste them into the plugin settings.
Read Guide Here api-key-guide